- Walkthrough
- Collectibles
- Trophies
Walkthrough
Chapter 7: The Lost Legacy
- 16 Treasures
- 7 Photo Opportunities
- 3 Optional Conversations
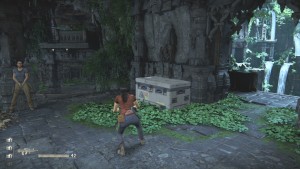
- 1 Lock Box
Hello, Belur
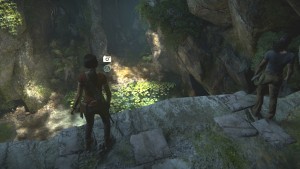
Go down the little ramp and jump to the nearest platform. You'll almost immediately hear some voices and see some sniper lasers. Enemies! It'll be tricky to sneak all the way to them so you'll have to shoot from on the platforms, if you've got a Silenced Pistol handy you should be aware that the snipers are wearing helmets and will take two shots to kill. An RPG wielding enemy will run in and join the sniper on the right and the other sniper has a single enemy below him.
Once those are dead you'll get a break in enemies until you swing over to the left. Here you'll find a few more regular enemies as well as an armoured shotgun carrier.
To carry on the fight jump over the next rope swing gap and advance up some stairs. In the courtyard a DHsK holder will appear and start slowly walking towards you, use your C4 or grenades to take him out then once any remaining enemies are gone and it's safe go grab his gun. Another lot will appear up the stairs at the back including a second DHsK carrier so use that big gun to take him out quickly. That's the lot.
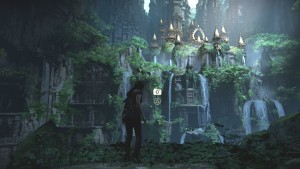
Leaving the area is as simple as walking up the steps at the back and bashing through the door. Once outside jump directly ahead to the platform to climb up its side and then from the top over to the water. Walk through the corridor and a quick bit of crouching to emerge through a waterfall.
Treasure 42/68 - Lakshmi Marriage Ornament
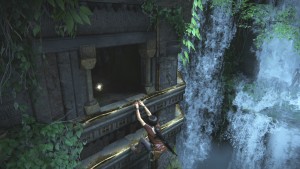
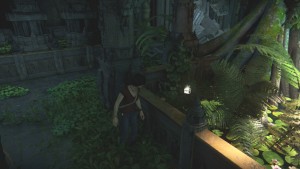
On your right are some yellow ledges that lead to a small tunnel just off the crouch tunnel you just passed through.
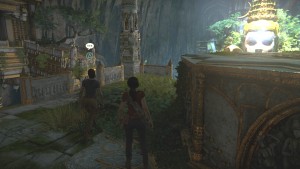
Back on the waterfall platform jump up the ledges on the left side and take a left past a Hoysala king's head. Up to the left you'll find a rope swing that'll take you above the corridor with the crouch tunnel. Up you go, a right at the top and then around the corner and back up to the very top.
On the left side of the entrance is a small tunnel you can climb into, there's smoke billowing out of it. Drop down and either shoot the enemies or just watch them blow up the tunnel. Either way the path is getting blocked.
Get into the water and dive down the hole in the middle, swim towards the light and resurface.
The path is up the steps to the left and leads to a library room.
Talk to Nadine in the middle of the room.
[Cinematic]
And leave through the open door ahead of you. Squeeze through a gap and walk down some steps.
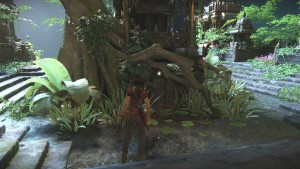
In the back left corner is a doorway you can dive down through and push some roots out of the way.
Climb up the rocks and all the way to the top. Leap across the gap to the next platform and after stumbling make your way to the top of that one too. One more gap to go.
Get back up again and then squeeze through the gap. Rope swing across to the water pool.
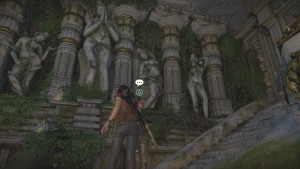
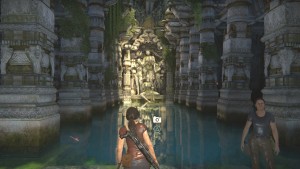
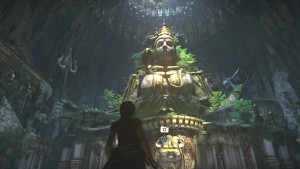
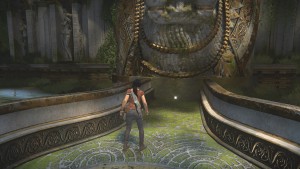
You're going to need to dive down and swim under the female statues you just took a photo of and then again through a submerged doorway to emerge in a room with a giant statue of Shiva.
On the left side of the area you can climb up some ledges to reach the bottom of some stairs.
Treasure 54/68 - Harappan Ivory Dice
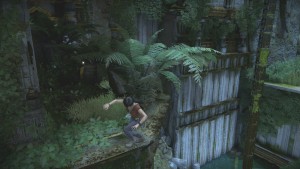
After you climb up climb up a little further up the golden arch on the window.
Now go up those stairs and climb the wall at the top to reach the first crank, which you should turn.
Optional Conversation 12/17
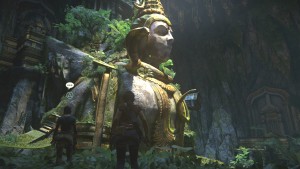
After you move the first of Shiva's hands have a talk about his cobra necklace.
Jump down onto the first hand before jumping to the left onto the arm holding the trident.
Treasure 55/68 - Ivory Chess Piece
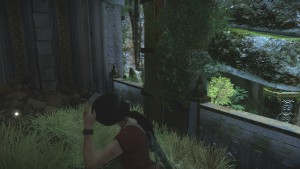
Drop down to the balcony below where you land after jumping off by the trident.
Climb back up then further to a second crank.
Treasure 56/68 - Gold Chola Earrings
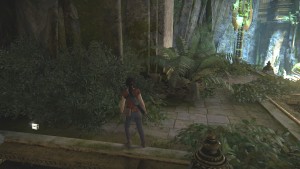
Before you turn it you will want to go up the ledges to the layer above so you can get this treasure at the back.
Return to the crank, turn it and then climb up those ledges again. This time however you'll want to run and jump onto the trident and get as far along it as you can before it moves vertical again. Climb up the side to the tip of the trident then rope swing over to another one of those wheel switches. Slide down the water then rope swing safely down onto Shiva's lower left arm.
Jump diagonally from the corner. Go up the stairs and then hang out of the window to climb up the outside. At the top is a crank but don't bother turning this one. Instead continue past it down towards a second crank.
Treasure 57/68 - Bridal Maang Tikka
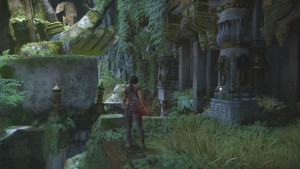
On a pillar beneath this crank, drop down where you climbed up on the other side of the room.
Climb back up and turn that crank, Nadine will turn the other one so start running along Shiva's hand to get to the drum. Ride it to below the second wheel switch. Go through the opened door and up to the top of the statue to turn one more crank.
Rope swing over to the small statue that the light beam is aimed at and climb up onto its platform. Rotate it around 180 degrees so that its red light beam aims perfectly at the statue on the right side.
Follow the red beam to the next statue and rotate it so that it's redirecting the beam 90 degrees, which will miss the statue over there. So to fix that go over to the statue and push it into the light beam. That should redirect the beam up to a mirror above. Return to the first statue.
Now follow the blue light beam over to the broken statue, interact with the mirror and Nadine will helpfully pick it up for you.
Photo Opportunity 27/28 - Reflecting Nadine
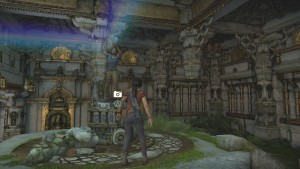
Take a picture of Nadine while she's holding the mirror up.
This last statue is on a slope so it has to be done last, roll it up the slope until it hits the light and you're done with the puzzle.
Shiva Escape
Climb up the platform and leap over to Nadine. Take cover and start shooting at the rebels that have appeared. Make your way to where the second red light statue was in order to progress, otherwise enemies are just going to keep appearing. This is a great place to use a blindfire shotgunning technique. Just before the middle area you might want to double back when the platform starts to collapse a little so that you can shoot some of the enemies from afar, being upclose to so many is a bit dangerous.
On the final corner you'll start getting shot by RPGs from by the second red statue so watch out for those. Once it's clear make a run for the door but don't worry if more enemies suddenly appear as you jump.
[Cinematic]
Slow walk along the corridor then push open the door at the end.
[Cinematic]
Along the back wall are two switches to press. Once you've done so approach the central object to put the disc in again in order to solve a circle puzzle again. First rotate the second largest to match the outer circle. Then rotate the centre circle to fit its neighbour. Rotate that second smallest to fit the third circle and then finally rotate the third circle to finish the puzzle. If it's on its side then just turn the outer circle.Move all four of Ganesh's arms down to yield to Parashurama.
[Cinematic]
Struggle then try to lockpick your way out of the cuffs. After freeing the other two swim to the surface.
[Cinematic]
